Screen Printing Guide
What You'll Learn in this Guide
What is Screen Printing?
Screen Printing or silk screen printing is a technique that dates back to 9th century China in it’s earliest and most basic form. The defining characteristics of screen printing involve the transmission of ink through a stencil to apply a layer of ink or paint to a flat substrate.
In today’s world screen printing has evolved into a core print method and can be seen across the globe in all shapes and sizes. Screen printing can be used to print textiles, glass, metal plastics, ceramics, paper and wood.
Here at Customised Clothing we utilise silk screening along with other techniques to print t-shirts, hoodies, polo shirts, jackets and accessories to produce a vibrant and long-lasting finish for all of your personalised clothing needs and because we can utilise the same set of stencils or screens over and over again it is a great method to brand custom clothing for workwear or sports teams that need clothing year round.
Customise your Clothing
Screen printing has commonly been utilised to print garments particularly in the wholesale clothing, fashion retail, workwear and promotional clothing sectors.
There is good reason for this as screen printing is a versatile technique which enables virtually all substrates to be printed. The most common print substrate is cotton t-shirts, achieving consistently high-quality results, however screen printing is not limited to cotton. We can print onto polyester, viscose, nylon, denim, silk and leather. Screen printing isn’t suited to textiles with a thick pile like wool or towelling.
The reason for its widespread popularity is not solely down to functionality, it can also be rather cost effective in mass production.
Simply put, there is a large amount of time spent in set up for screen printing and as a result short runs can be very costly but on the flip side bulk quantities can be reproduced with consistently high-quality results for a fraction of the cost of short runs.
Screen printing is a largely industrial process nowadays with many steps to get from start to finish and as a result many of these processes have become automated. Nonetheless it is still a laborious process setting up screen printing machines which results on a lot of downtime in the wrong hands.
The Screen Printing Process
Contents
Step 1 – Artwork and design
Step 2 – Pre Press – How To Prepare A Screen
Step 3 – Production – Manual And Automatic Print
Step 1 – Artwork and design
Artwork and graphics are of utmost importance to any print shop and are the starting point for appraising both cost and the expected quality of output. Artwork or ‘assets’ must be in vectored format to be suitable for artwork separation. Vector art must be created by a software that utilises vector illustration like Adobe Illustrator or Corel Draw. A vector is an image that is created with mathematical formulae which doesn’t distort on expansion or contraction and vector art usually refers to an amalgamation of these vector shapes to create and overall piece of artwork. This sharpness allows us to print beautifully clean prints with impeccably straight edges without a loss of definition.
Artwork separation:
Artwork separation is a process whereby a piece of vectored artwork is broken down into single layers containing the colours that make it up. We must isolate each layer in order to produce individual screens for the given colour. There are three main methods of achieving this:
Spot colour – the simplest method of recreating a design is by taking each colour, creating a separate layer designate each as a Pantone and outputting to screen
Four colour process – four colours relate to CYMK or cyan, yellow, magenta and black. Most pieces of artwork can be recreated with these four basic colours by utilising what’s know as ‘halftones’. This refers to a specific density of a colour being laid down to give the human eye the perception of a different colour. For example, magenta laid down with 20% density produces the illusion of pink. This illusion can further be utilised by mixing colours with a given density to produce new colours. For example mixing magenta and yellow creates the colour red. Using the four colour process separation technique we can reproduce a large amount of artwork however it can often be less vibrant than as we’re recreating colours rather than printing the specific colour required.
Simulated process – This technique builds on the basic four colour process described above and is meant to produce more vibrant prints by separating colours that we anticipate to be difficult to reproduce with our basic CMYK into spot colours and layering them on top of the desired area.
Each colour is then designated a Pantone reference. Pantone is a limited company which has produced a colour matching system known as PMS or Pantone Matching System. Each shade is referred to as a colour code for example 185c is a shade of red as shown below.
Pantones are commonly used in print as they are a reliable method of reproducing colours in artwork so that we can ensure your art on screen looks as much like the finished product once we’ve printed onto your garment of choice. It should however be noted as there may be discrepancies between the image on screen and the colour of the ink laid down. This is down to the way computers display colours namely RGB or red, green and blue. Computer screens are often backlit and these lights produce colours that can seem different to the eye as they would in a pot of ink for example.
The best way to determine what a Pantone colour will look like before it’s printed is to look up the colour in a Pantone swatch book.
Screen printing is very much artwork dependant and it should be noted that although silk screening is a great method for recreating spot colour artwork it is less suited to photographic imagery and gradients but these are still possible with the right experience. Get in touch for a quote by one of our experts.

Step 2 – Pre Press – how to prepare a screen
Each colour is then designated a Pantone reference. Pantone is a limited company which has produced a colour matching system known as PMS or Pantone Matching System. Each shade is referred to as a colour code for example 185c is a shade of red as shown below.
Pantones are commonly used in print as they are a reliable method of reproducing colours in artwork so that we can ensure your art on screen looks as much like the finished product once we’ve printed onto your garment of choice. It should however be noted as there may be discrepancies between the image on screen and the colour of the ink laid down. This is down to the way computers display colours namely RGB or red, green and blue. Computer screens are often backlit and these lights produce colours that can seem different to the eye as they would in a pot of ink for example.
The best way to determine what a Pantone colour will look like before it’s printed is to look up the colour in a Pantone swatch book.
Screen printing is very much artwork dependant and it should be noted that although silk screening is a great method for recreating spot colour artwork it is less suited to photographic imagery and gradients but these are still possible with the right experience. Get in touch for a quote by one of our experts.
What is a screen?
A screen consists of 2 parts – an aluminium frame and a mesh covering. Screens typically come in the shape of a square or rectangle. Historically the mesh was made from silk hence the term silk screen printing however in the modern day this has been replaced with synthetic polyesters which are a more cost effective and longer lasting alternative.
Making a Screen:
To combine the two parts, the aluminium frame and the mesh, the polyester is stretched tightly over the aluminium frame to create a covering with the desired looseness or tightness, this is referred to as tension. This is relevant to us in the print industry as the tension of our mesh is a factor in determining the amount of ink we lay down and as a result the way our final product looks. Location lugs are then drilled into the short edges of the aluminium frame so that the screen can be placed into our automatic print presses.
So, we’ve now stretched our mesh over the screen and glued it down to create a tight seal over our aluminium frame. What next? We must apply a light sensitive emulsion to our mesh.
Pre-Press:
Emulsion is a mixture of components which acts like paint that we use to coat our mesh. The trick with our emulsion is that it reacts to light when exposed. We must mix together the components of the emulsion to prepare it to coat our screen, we then lay our screen on a stable surface, pour the emulsion into our trough and evenly coat the screen front and back.
When ‘making a screen’ we’re really referring to the transfer of a design/piece of artwork from computer screen to our aluminium screen. Historically this has been done using acetates much like you might remember using at school when a teacher would present using a projector and acetate. Here at Customised Clothing we utilise up-to-date, modern, industrial machinery to produce our screens name the Spyder II CTS (computer to screen) technology.
Method 1 – Acetate
Method 2 – Direct to Screen
Method 1 – Acetate
Each layer from our previous step (colour separation) is isolated and printed onto an acetate sheet
The printer will use his skillset and eye for detail to select the correctly tensioned and coated screen from his armoury to place each layer onto
The acetate sheet is attached to the screen (directly onto the emulsion)
The screen is placed into an exposure unit which emits a strong light source causing the emulsion to react and harden. Where the opaque acetate is covering the light sensitive emulsion i.e. the positive or our layer produced by separation, the emulsion does not react to the light and does not harden
The screen is placed into a wash out booth and is sprayed with a shower hose or a jet wash to remove the un-exposed emultion leaving us with a clean stencil to push our ink through.
Method 2 – Direct to Screen
Our graphic design team separate your artwork and output each layer directly to our Spyder II
The printer will use his skillset and eye for detail to select the correctly tensioned and coated screen from his armoury to place each layer onto
The location lugs are locked into place directly onto our Spyder II which matches the positional registration bolts on our automatic MHM print presses
Instead of using the opacity of our black ink on acetate, the Spyder II passes its head, containing molten wax, across the screen spraying the positive image or our separated layer of artwork onto the screen with precision accuracy at a resolution of 1200 dpi (dots per inch) meaning we can recreate every little bit of detail in your artwork and ensure this is replicated on press
The screen is removed from the Spyder II and placed into the exposure unit, exposed, washed out and left to dry.
This process is repeated for every colour/layer in the design
Once the screen has dried and is identified as ready to go onto press, the edges are blocked out either with tape or screen blocking liquid which hardens to prevent ink leakage through the edges.
Step 3 – Production – manual and automatic print
Go to Print:
We have now separated our artwork, transferred those layers onto individual screens, let the screens dry and blocked them out ready for our print press. We can now proceed to print.
Machinery:
There are three types of screen print presses: manual, semi-automatic and fully automatic presses. Here at Customised Clothing we benefit from the pleasure of having all three types! That being said we tend to use our automatic presses the most so that we can keep mass producing all of your favourite prints.
Manual presses or hand carousels are used mainly for sampling or low colour count low quantity runs as it frees up our larger automatic print presses to produce larger runs and reduces our downtime.
Print presses are made up largely of steel, aluminium and plastic. Of course, our automatic presses have electrical circuity and motherboards to ensure the smooth running of the machine.
Registration:
We take our screens, we insert them into our print press, loosely secure the bolts to hold them in place and begin the process of registration. Fortunately, our Spyder II has ensured we’ve transferred each layer of our artwork onto the screen in exact same place meaning registration is much easier, less time consuming and more accurate.
The process of registration begins by setting up screen 1, usually the base white screen, moving the screen into position so that it lies in the perfect spot in relation to the garment underneath it. Having registered the first screen we then print a test print onto a scrap piece of fabric so that we can refer to it when registering each of our remaining screens. We must then cycle screens so that screen 2 is overlying our test print, lower the screen and ensure it is aligned with our initial test print. This process is repeated with each screen to complete the registration process.
Once we have registered our screens and our test print is has been signed off by our production manager, we will proceed to print bulk.
Mixing inks:
There are a wide range of inks available to screen printers which can make choosing the right one difficult but we’ll discuss more about that later in this article. Here at Customised Clothing our preferred ink system is Fujifilm’s Sericol brand. Fujifilm has a long, illustrious history in the printing world as it is known to be second to none when it comes to producing quality inks.
Sericol manufactures a basic set of inks which with the right knowledge, experience and equipment can be mixed to produce every colour in the Pantone book. For this we need:
1- Mixing tubs
2- spatula
3- Gloves
4- A Pantone scale
5- Our base ink set
First we must enter the required Pantone into our scale, the required total end weight and note down the weights of each base ink required to create this colour. We take ink 1 and add it in the necessary weight, repeat with inks 2, 3 and so on. Once we have our completed our mixture we must take our spatula and mix well. This process is repeated for each ink required to build up the full colour palette within your artwork.
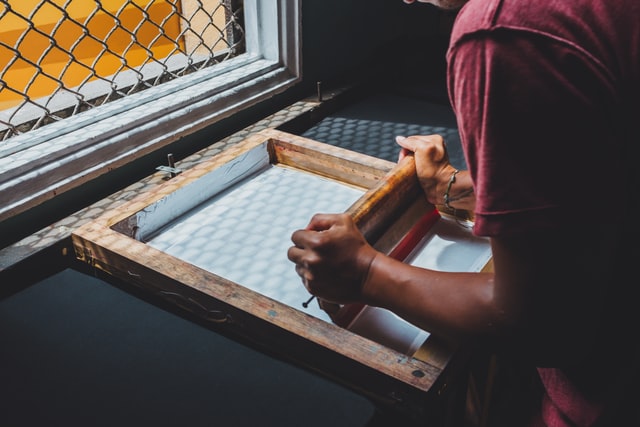
Manual Screen Printing:
Manual printing is a labour-intensive process involving at least one and possibly two people per machine. First, we load the screens and register them as above, ink is then evenly layered onto the screen overlying the print area and this is repeated for the subsequent screens.
The pallet (board on which the garment sits) is covered with adhesive, this can either be in the form of a spray or a liquid adhesive, to secure the garment that sits on it. The garment (for this example we’ll use a t-shirt) is taken and loaded onto the pallet. The opening at the base of the t-shirt is opened and the print surface, whether it be front, back or sleeve is loaded base first onto our print pallet. The screen is lowered by hand and our printers takes his squeegee and first ‘floods’ then screen with ink. This refers to a forward stroke with our hand squeegee at a very low angle working to fill our stencil with ink so that when we print the ink will be transferred from our stencil onto the surface of our t-shirt below it. We must then place our squeegee at the topmost point above our stencil, touch the screen, decrease the angle to around 70 degrees and pull back towards yourself firmly and ensuring even pressure through the stroke.
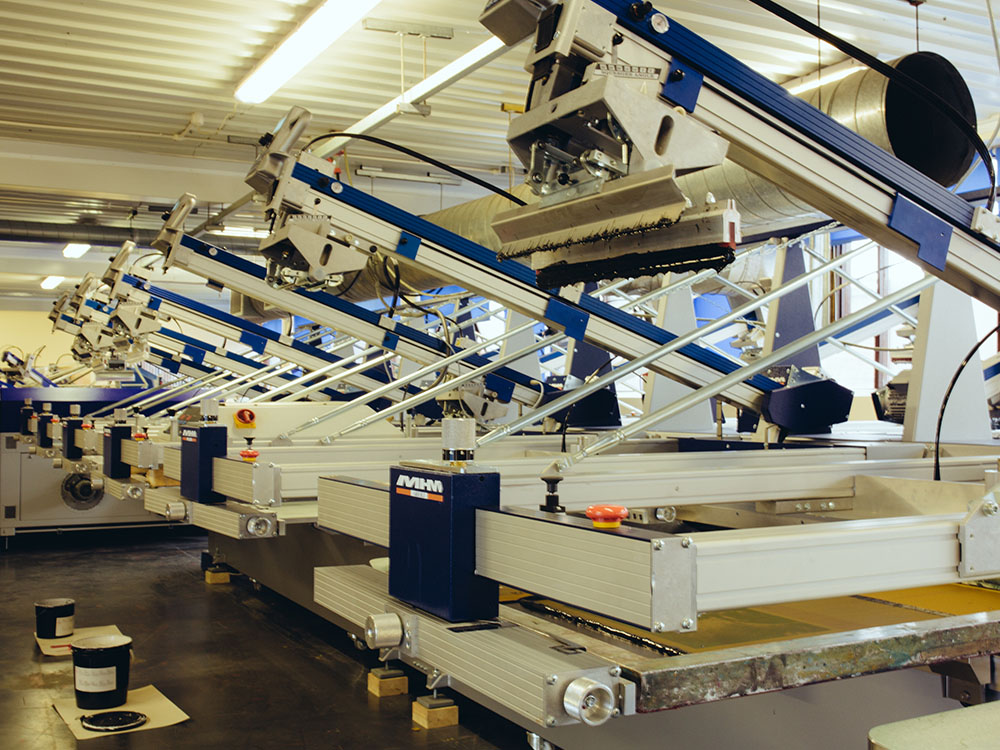
Automatic Screen Printing Press:
This is a very similar process to manual screen printing except, you might have guessed it, we automate many of the processes. The screens are registered much like the manual screen print press the major difference being once the screens are loaded and the location lugs are in place it cannot be moved by hand. Each print head has a control panel on it which moves the screen automatically using the directional keys. This heightens accuracy and allows the operator to focus solely on registration. The ink is loaded just like on our manual press but we have two very different components on our automatic print press – the floor bar and the squeegee. The flood bar is a metal blade that when in place is driven by the pneumatic pressure within the machine and runs across the surface of the screen filling our well (stencil) with ink. The squeegee blade is exactly the same as on our manual press but the ‘handle’ is different, it is made mostly from steel and locks precisely into place adjacent to our flood bar. Once the flood bar is lifted the squeegee is simultaneously lowered onto the screen so that in the exact opposite stroke to the flood bar the squeegee presses the ink down onto the garment underneath the screen.
An automatic press has the significant benefit of consistent flood pressures, squeegee angles and pressures (note squeegee angles can be changed to achieve varying deposits of ink) and is much more likely to produce the same quality print time and time again when compared to an operative trying to achieve consistent results when printing by hand. Here at Customised Clothing we utilise industry leading print equipment such as the MHM iQ Oval with 16 print stations.
Types of ink
There are a wide range of inks available to screen printers which can make choosing the right one difficult. In order to pick the correct ink we must first understand the composition of ink:
Plastisol Screen Printing Ink:
Plastisol is the most widely used ink in the screen printing world, most of the printed t shirts you’ve seen in high street shops will have been printed using plastisol ink.
It’s easy to mix, has low viscosity, is extremely versatile, durable and can be adapted to suit any type of screen printing equipment or garment base.
Plastisol isn’t limited by artwork or design and can stay on the screen or in its pot for long periods of time without drying out making it very well liked throughout the screen printing industry.
As plastisol is oil based, solvents are required for cleaning which makes them less environmentally friendly than water based inks. Solvents and plastisol ink must be disposed of correctly.
Plastisol will generate the fastest and most cost effective production.
Composition:
Plasticiser, oil and pigment. This forms a continuous sealed film of plastic once cured.
Finish:
Flat but gives a moderate hand feel as the ink deposits sit on top of the garment with high levels of vibrancy and a slight gloss effect.
Water based Screen Printing Ink:
Water based inks have become more popular recently with the rise of eco-friendly printing as they’re completely PVC and phthalate free.
They also have the added benefit of a soft hand feel when printed because the ink sits within the fibres of the base garment rather than overlying the garment fibres like plastisol. It is more difficult to provide an exact colour match although not impossible as water based inks are semi-transparent.
Generally a longer curing time and a higher temperature is required compared with plastisol which does impair the green credentials of water based inks and can sometimes be a hidden factor that isn’t taken into consideration.
The very low viscosity of water based inks makes them more suited to higher mesh count screens to prevent bleeding. Cleaning is relatively easy using water and these inks can be disposed of much more easily than plastisol.
Water based inks dry out very quickly remaining fluid for only a few minutes before beginning to clog the mesh in our screen if not disturbed through movement either by stirring with a spatula or through the mechanics of printing. This means we need to clean down our screens every time we’re taking a break or closing down for the day.
Composition:
Acrylic or polyurethane, water and pigment. The water must first evaporate to allow the binder to adhere to the garment.
Finish:
A soft hand feel with a durable finish. Not as vibrant and less glossy than plastisol.
Discharge Screen Printing inks:
Discharge ink acts by bleaching the fibres of the garment it is printed onto but doesn’t distort the fibres or damage them enabling us to print directly onto the natural undyed fibre. This results in the weave of the garment showing within the ink giving a textured effect with extremely vibrant colours and a soft hand feel.
Discharge ink is particularly suited to naturally made garments without synthetic fibres meaning a 100% cotton t-shirt is the perfect candidate. Discharge can struggle with certain colours notably royal blue, forest green and maroon.
Interestingly, discharge inks can be combined with both plastisol and water based inks. Plastisol can be printed on top of a discharge base resulting in a soft layer of ink with a very vibrant look. Waterbased inks can either be printed on top of a discharge base or can be combined directly with the discharge formulation which has the effect of dyeing the base garment with our printed artwork. This print will never crack as the ink lies within the t-shirt fibres.
Composition:
A clear water based ink with a catalytic activator – Zinc Formaldehyde Sulfoxylate
Finish:
Very soft hand feel and vibrant
Specialist screen printing techniques
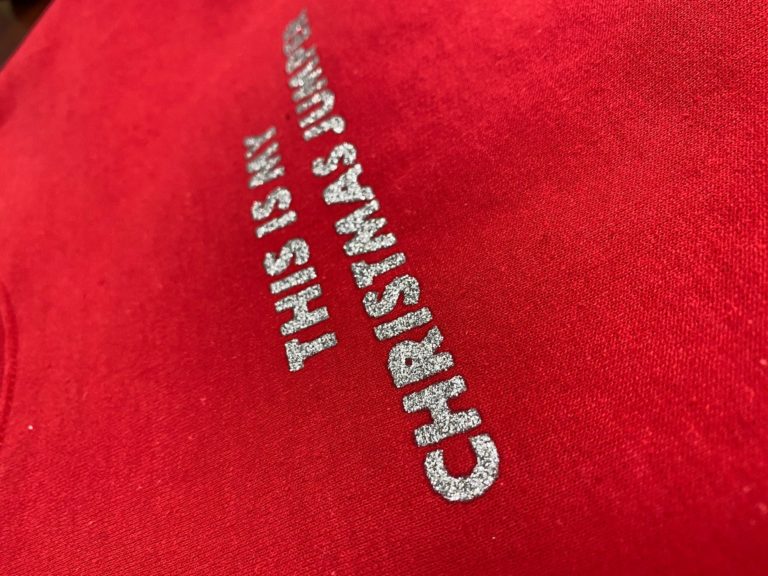
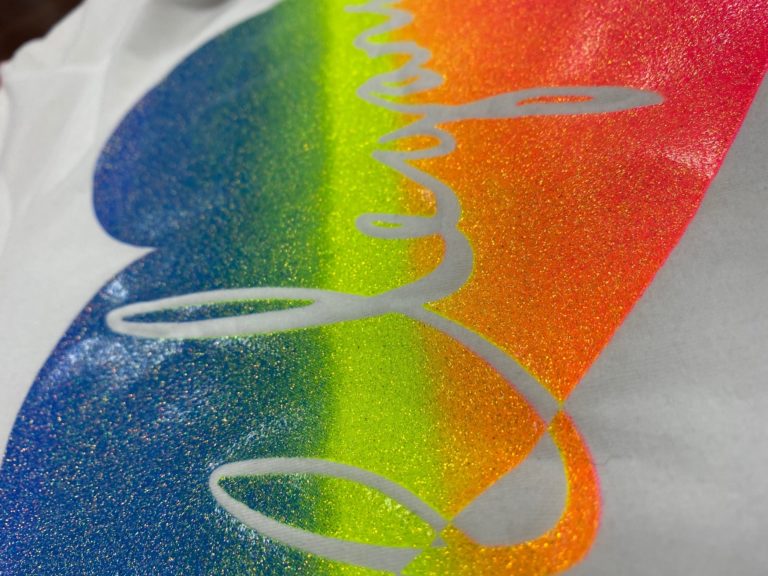
Glitter
This effect can be created in two different ways, either by printing the glitter through a low mesh count screen onto an adhesive base or by printing an adhesive base and dipping the garment into a glitter tank before putting it through to drying tunnel for final curing
Caviar Beads
Similarly to glitter the garment is dipped into a caviar beads before going through the drying tunnel
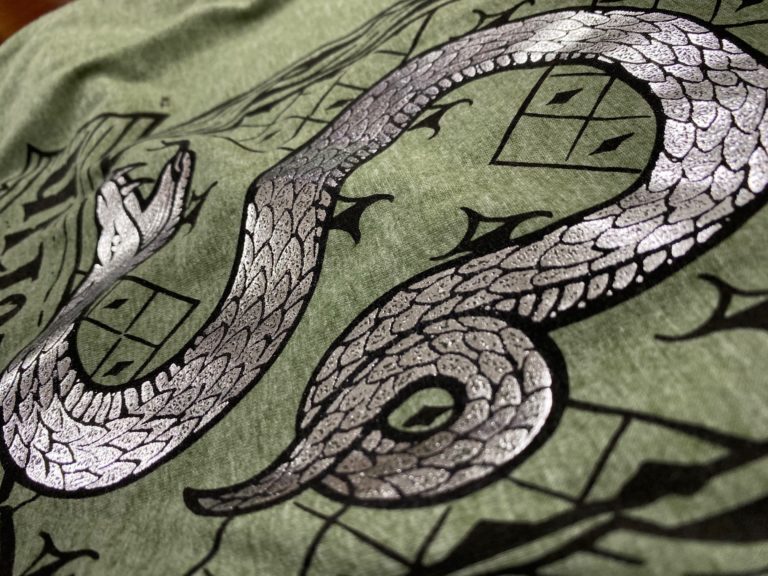
Foil
An adhesive base is printed and cured, foil cut to the right size and transfer pressed onto the garment
Flock
Much like glitter, flocking a garment can be achieved in two ways, either printing flock powder through a screen onto an adhesive base or printing an adhesive, curing and transfer pressing flock onto the garment
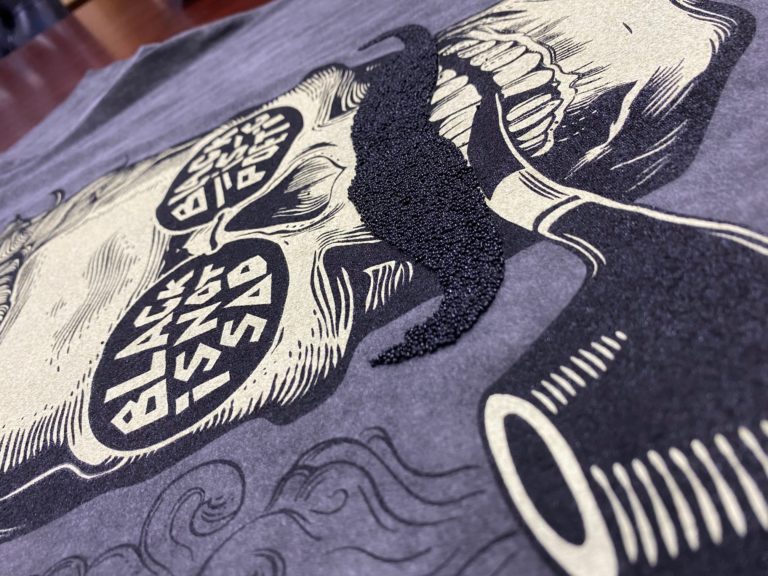
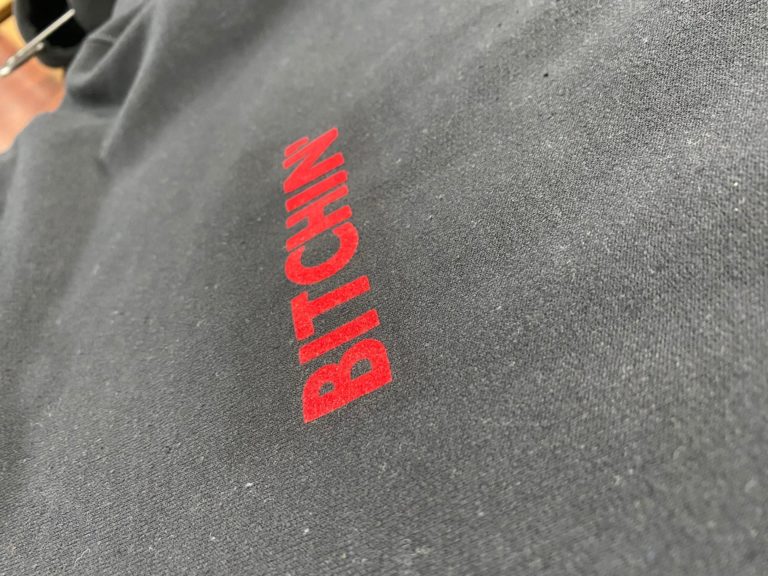
Puff
Achieved by mixing an additive into ink which expands under the heat of the drying tunnel
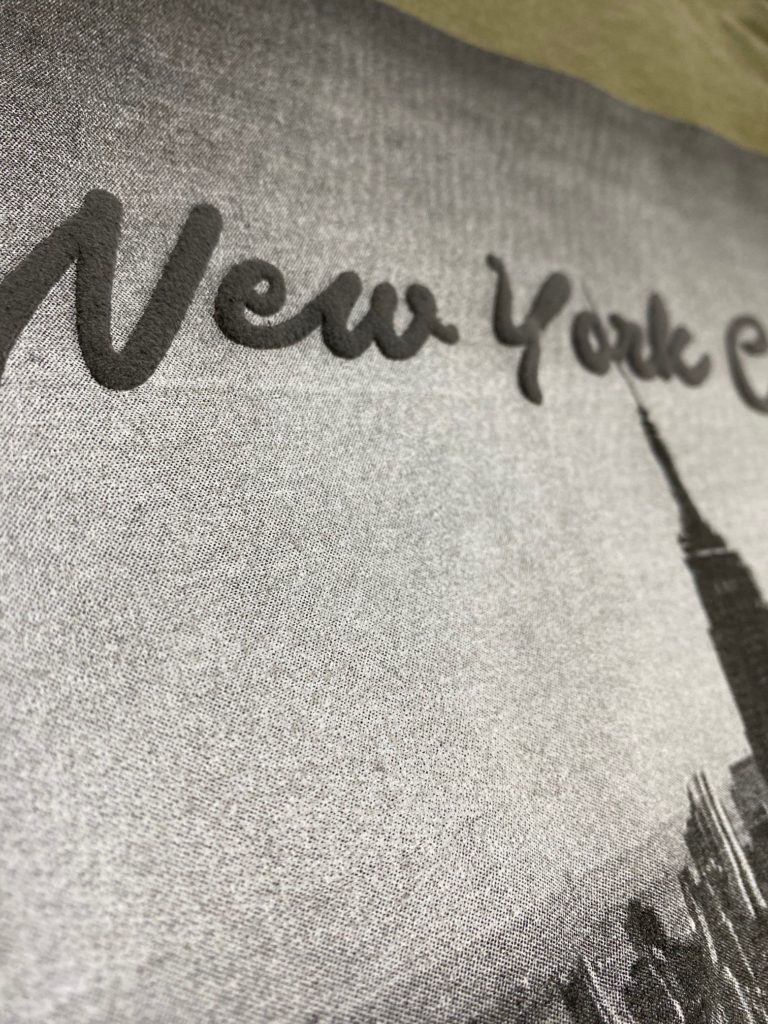
Hi Build
High density ink is mixed with plastisol to create a very viscous hi-build ink. This is screen printed through a specially created screen with in-built depth leaving a raised print which can be felt when a hand is run over it
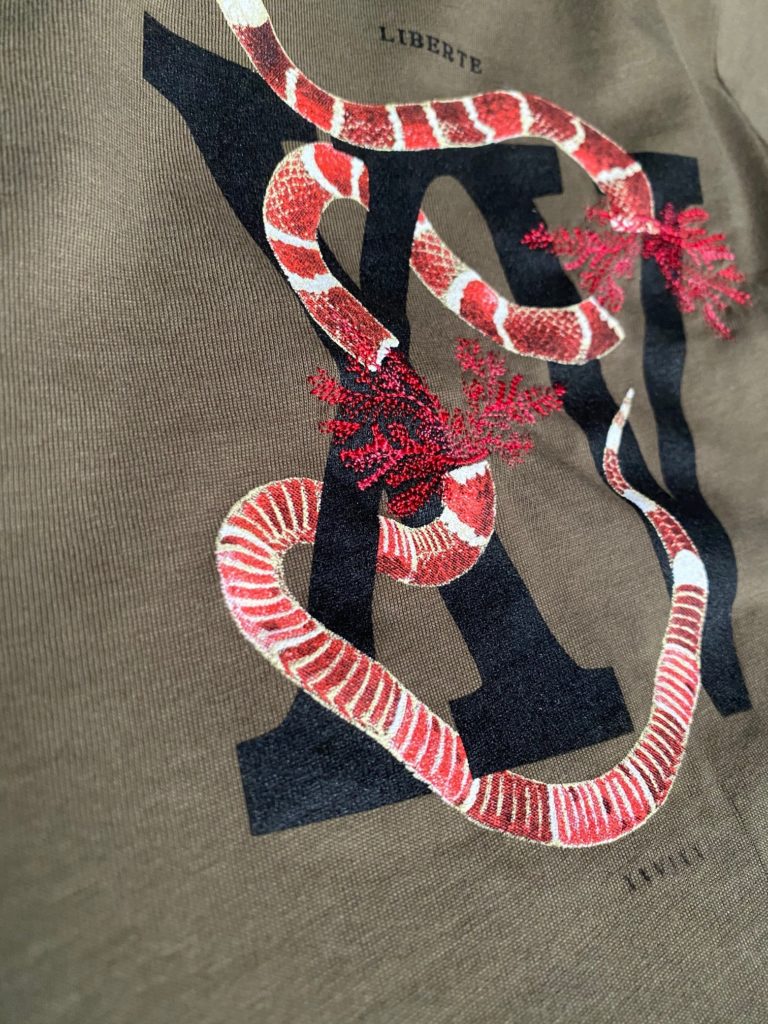
Print and Embroidery
The combination of screen printing and embroidery
Gloss
The creation of a glossy finish by transfer pressing a special gloss paper over the print
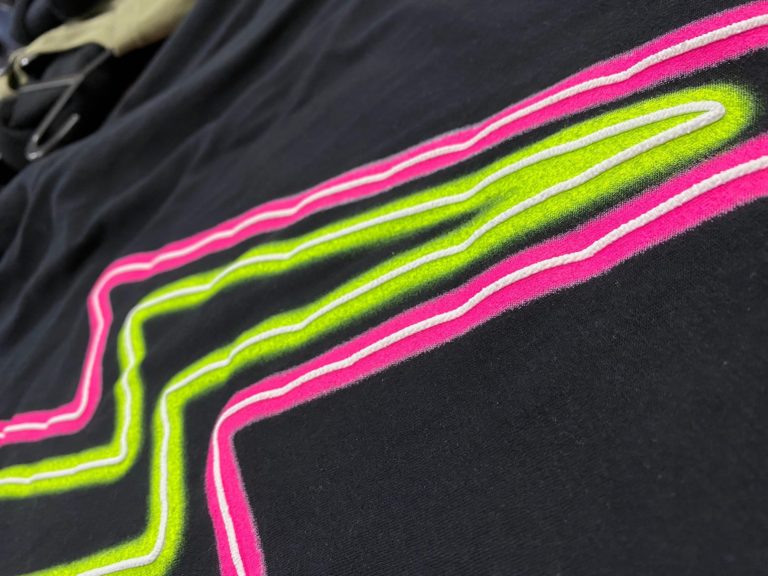
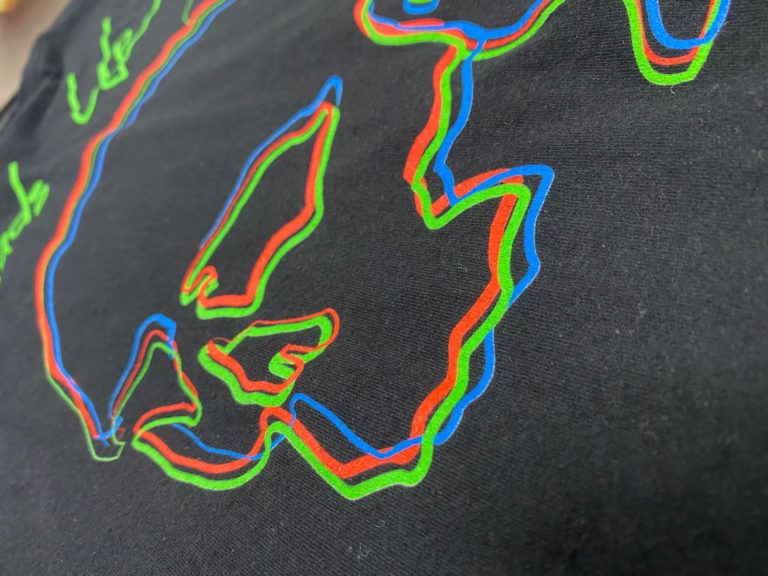
Neon
Very bright inks that glows under UV light
Metallic
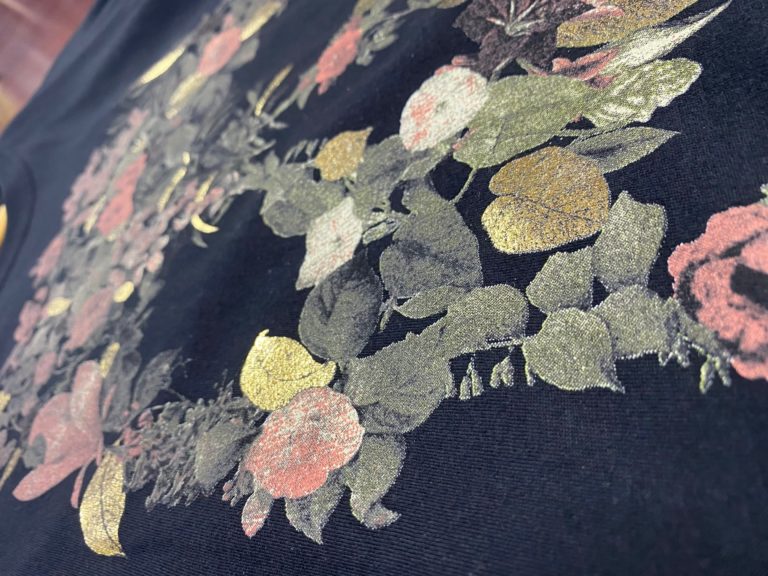
Directly screen printed onto your garment of choice giving a metallic sheen or shimmer
Reflective
A luminous effect under bright light
Why Choose Customized Clothing:
We’ve been printing t-shirts for over 20 years and we’ve been in the garment embellishment business for over 35 years now.